Videos are an important piece of your camp’s marketing strategy. Whether you’re creating an inviting trailer to attract more campers next year or capturing evidence of all the fun your campers are having for their parents, it’s a skill you can’t afford not to invest in.
Here, we review some basics and then dive into telling your story through amazing camp videos.
Camp videography basics
Keep these things in mind as you prep for creating your camp videos.
Get the right equipment
In the past, this may have meant getting an expensive camera setup and special sound devices. While you can certainly use them if you have them, modern smartphones can have incredible cameras.
Whatever you use, keep it consistent. It can be jarring to a viewer to see clips of varying qualities stitched together.
Speaking of stitching together — make sure you have video editing software. It doesn’t have to be professional (or expensive). It just needs to enable you to crop and edit multiple video clips and sounds together.
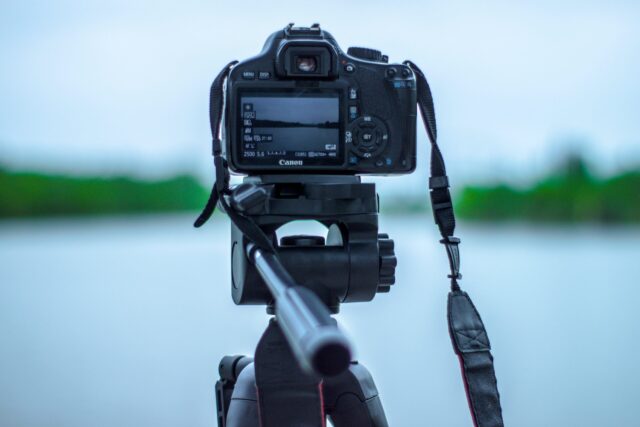
Keep it steady
Invest in a simple tripod to keep your setup level. Shaky footage is hard to watch, and in some cases, it can be unusable.
If you can’t get a tripod, you can always try setting the camera or your phone down on a raised surface. Or you could recruit the person with the steadiest hands to be your default camera person!
Know your distance
Footage too close or too far in front of the subject can be hard to focus on. When considering where to film and how to set up, remember to check how the shot looks by taking a still photo from where you’re filming.
As a rule, try to keep about six feet of space between you and the subject of your video.
Be mindful of lighting
Filming in the dark (or bright light) won’t get you very far. If you have lighting equipment, that’s one way to mitigate shifting light.
If not, you can still make it work. For outdoor videos, the “golden hour” for film and photography is the hour right after sunrise and the hour right before sunset.
For indoor shots, check the lighting before you roll the camera. Take a couple photos and test different positions to see what gives the most well-lit (but natural) look.
Don’t forget the b-roll
It’s easy to get caught up in the action shots and interviews. But don’t forget the b-roll! B-roll is supplemental footage you can use to cut between your main videos.
For example, take a look at any TV interview. While the speakers are asking and answering questions, there will be short shots of scenery or images of what they’re mentioning. That’s b-roll, and it will add some extra gloss to your finished camp video.
Telling your visual camp story
Now that you’re all set up with your equipment and have some basic guidelines in mind, it’s time to tell your story.
List what you want to capture
Before you ever pull out your camera, make a list of all the situations and people you want videos of. Some examples may include:
- Interviews with campers
- Interviews with camp counselors
- Outdoor activities
- Indoor activities
- B-roll of the camp location
- Campers enjoying downtime
Share your list with other camp staff and encourage them to take their own videos. The more footage you have to work with, the better. Just make sure they review the camp videography basics first.
Create a filming schedule
Using your list, start adding filming times to your camp schedule. For interviews, set aside more time than you think you’ll need. Setting things up can take longer than expected.
For activity footage, you may not want to schedule a separate time. Make a video note by the block on the itinerary instead. This will remind you and other staff members to take some candid footage during that time.
If your list is long and it’s difficult to schedule all the shots you want, prioritize your list and schedule the most important scenes first.
Edit efficiently
It can be tempting to create one long and exciting movie out of your camp footage. Resist the temptation!
On social media, video is gold. While you may want to create a few more in-depth videos highlighting specific people or activities, remember to save some for short posts on your social channels.
Ready to test those new video skills? At CampSite, we’ve got you covered with a video and photo blog feature—a fun and easy way to capture and share those incredible memories with families.
Request a free personalized demo with one of our sales experts to see how our blogging platform is just one component of our smarter camp management software!